Want to quickly get to grips with WordPress to publish articles and edit your site? Take a few minutes to discover the Administration interface of WordPress. Discover the main editing and administration features of version 4.9.6.
Here’s the article outline. Click on the part you’re interested in for quick access.
Browsing WordPress administration
Logging in
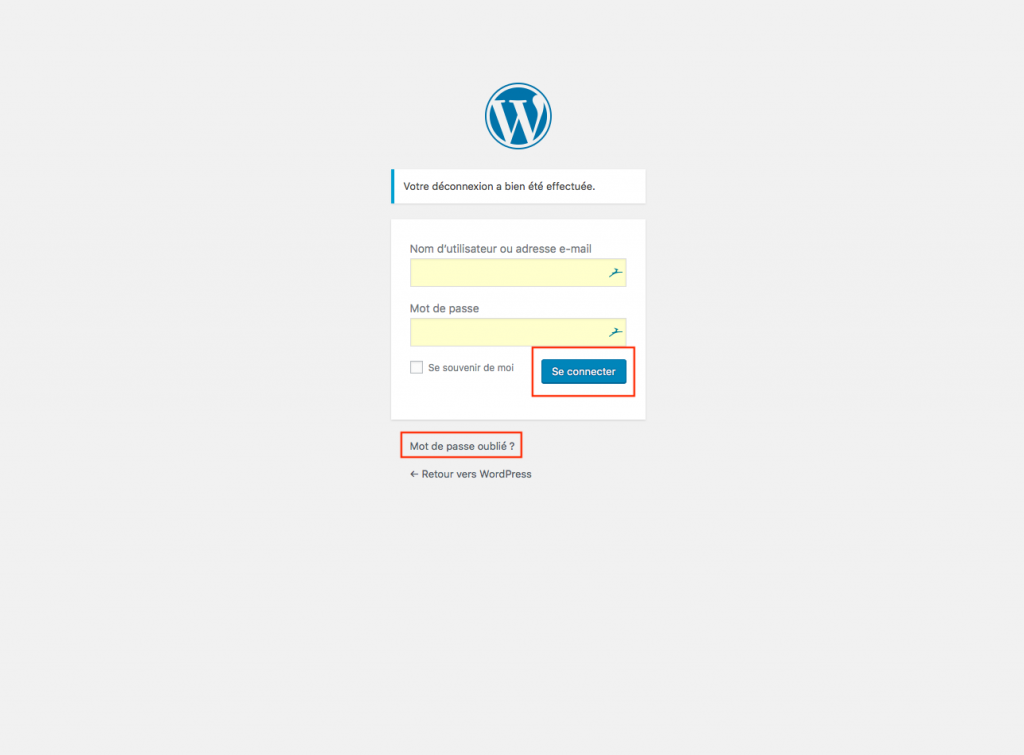
To connect to WordPress administration, enter your site address and add “wp-admin” after the url. (monsite.com/wp-admin) then enter your login and password. It’s possible to retrieve the latter if you’ve forgotten it.
Once you’ve logged in, you’ll be redirected to the dashboard.
The dashboard
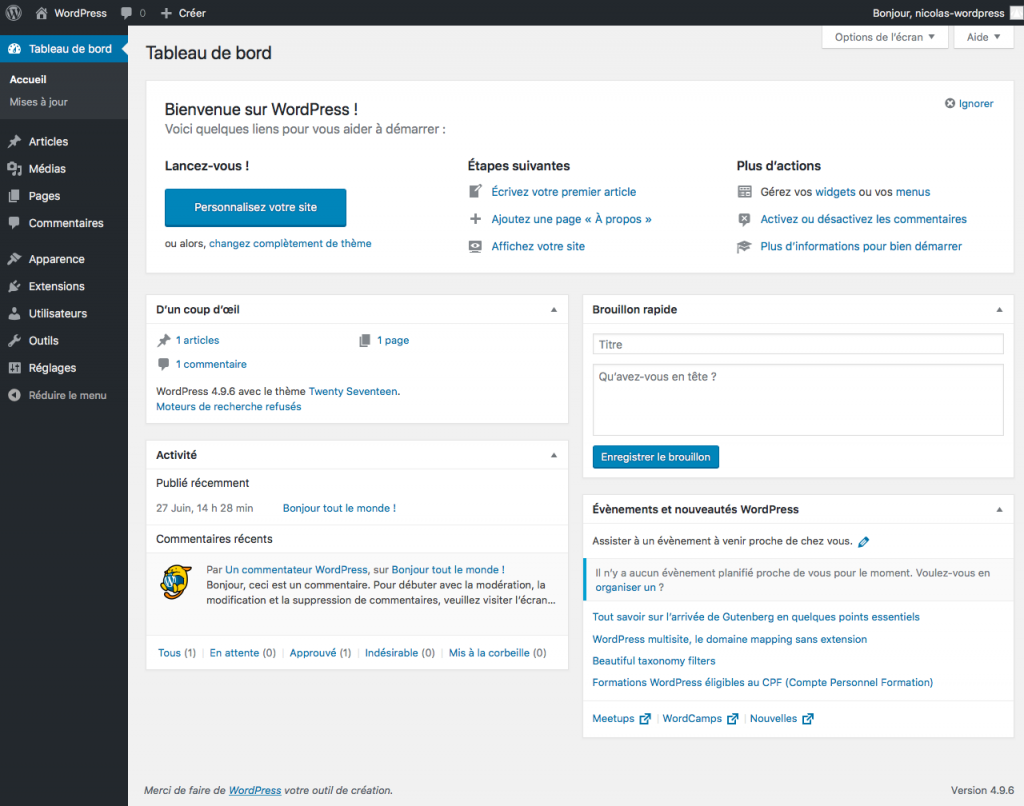
The appearance of the dashboard may vary depending on your theme and activated plugins.
If you find there are too many elements, it’s possible to hide some of them via the “screen options” button (top right). What’s more, it’s possible to rearrange page elements by drag / drop, as you wish.
The administration bar

The WordPress administration bar is present when you’re logged in. It gives you aquick access to create your content, edit your profile and access comments.
To switch from the admin area to the visitor area, you can use the admin bar by clicking on your site name. (To the left of the bar)
Manage your profile
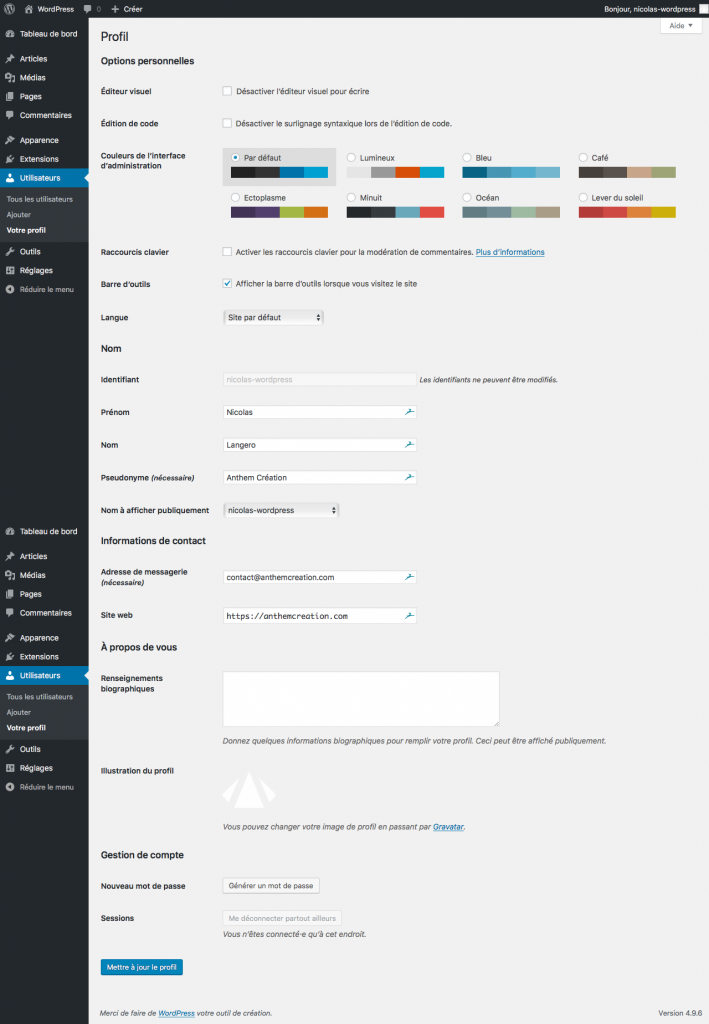
This page is mainly used to change your e-mail address, your password, or to customize the administration theme. You can also disable the admin bar if you wish.
Content management
The main purpose of WordPress administration is to help you publish and manage your content.
There are two types of content in WordPress: content “posts” and content “pages”. Posts are by default blog posts, but it’s possible to create custom post types that can correspond to different types of content, such as portfolio achievements, events or catalog products.
The difference between pages and posts lies in their temporality. Posts are attached to a precise date of publication, they are categorized in a chronological order while pages have a permanent characterand can be hierarchized into sub-pages.
Les articles
The listing page
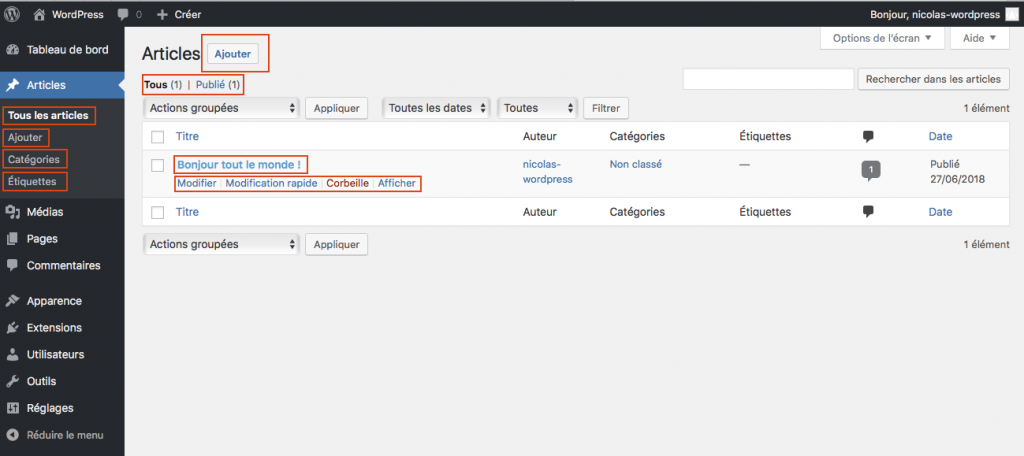
This page lists all your posts. In the listing you will find links to each item. You can edit, delete or access the post. Add a new post by clicking “add” at the top of the page, or “add” in the main menu.
The main menu also gives you access to listings of the categories as well as the tags, of your posts. These pages work on the same principle as posts. You can also quickly create categories and tags from the post page.
The post page
Text editor
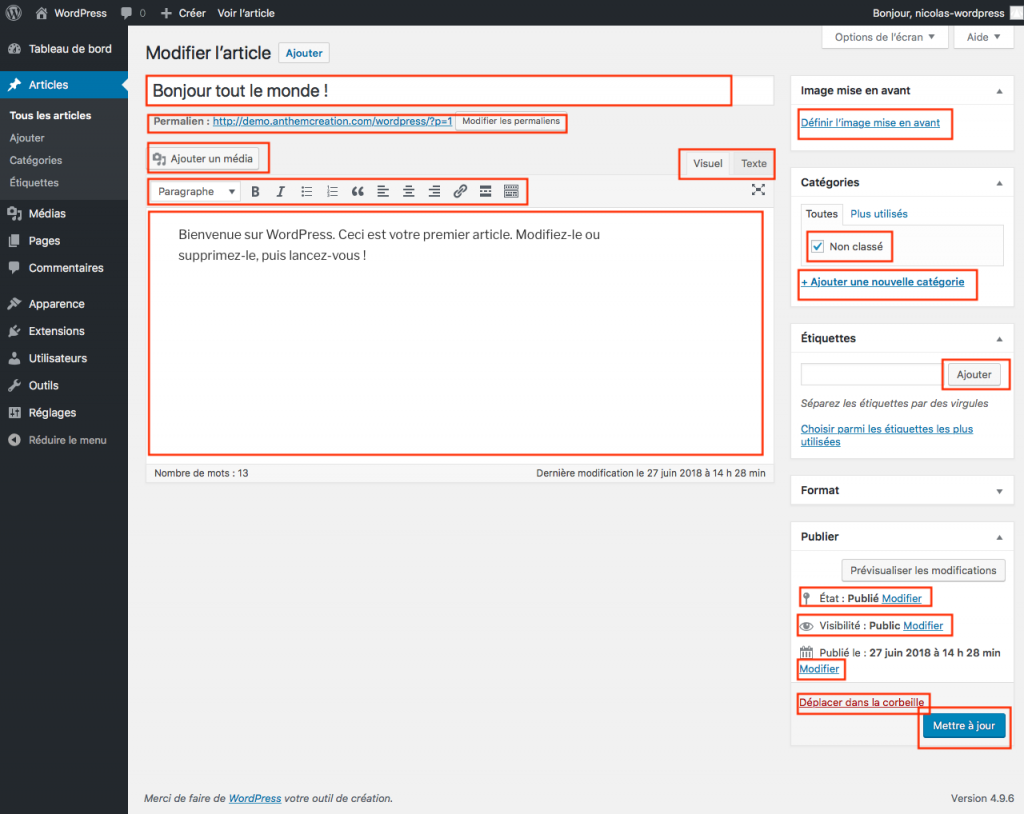
This is where you choose the title and work on the main content of the post. The permalink or “permalink” is the url of your article or page, which you can modify to best meet SEO constraints.
If you’re modifying a permalink of previously published content, remember to make a redirect. (Read this article to create a redirect in WordPress)
The text editor enables content formatting and the addition of media. To this end, a toolbar allows you to create links, align text, choose headline size or add images.
Note that there are two editing modes that can be selected at the top right of the main input field.
These are the visual mode and the text mode. Visual mode is a preview of the final rendering. Text mode allows you to format content manually more precisely.
Very soon the text editor will evolve with the Gutenberg editor, and allow more complex layouts for articles.
The front-page image
The front-page image represents your article, most themes use it as a preview in post listings and display it in the post header.
Categories
This box lets you choose one or more categories and create new ones.
Tags
Like categories, tags allow you to link and group posts on “tag” pages.
Publishing
The “publish” box brings together options for managing the status and visibility of publications.
Post status can be in draft, waiting for proofreading or published. Visibility determines whether the post is private, accessible by password or public. If private it will be visible only to administrators.
Note: Depending on your theme you’ll find additional custom fields. In addition, as on the dashboard, the article page lets you rearrange blocks by drag and drop.
Pages
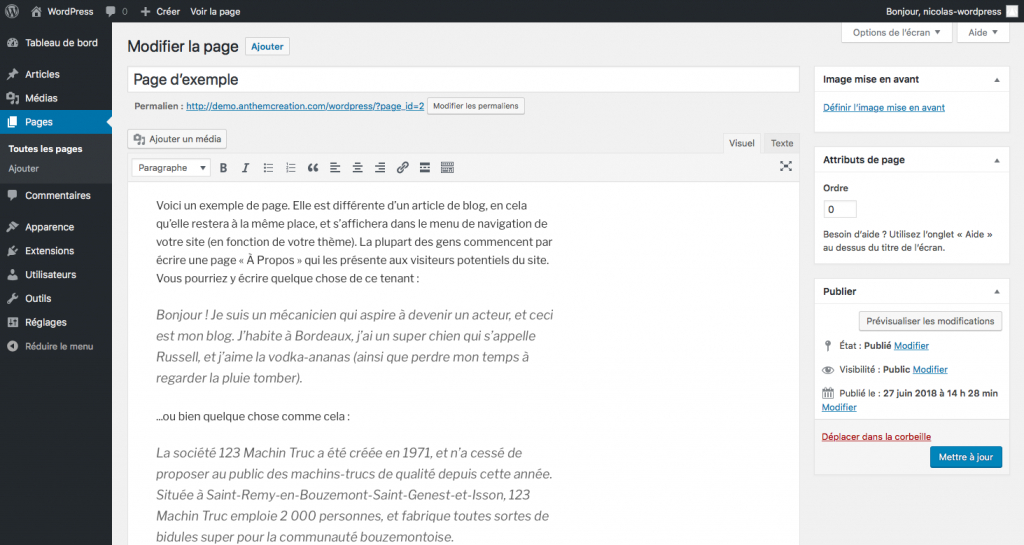
Pages work like articles and feature the same editing options by default.
The media library
One of the must-have features of WordPress administration is the library, which brings together all your media. You can access it either from the main menu or from the text editor of the post by clicking on “Add media”.
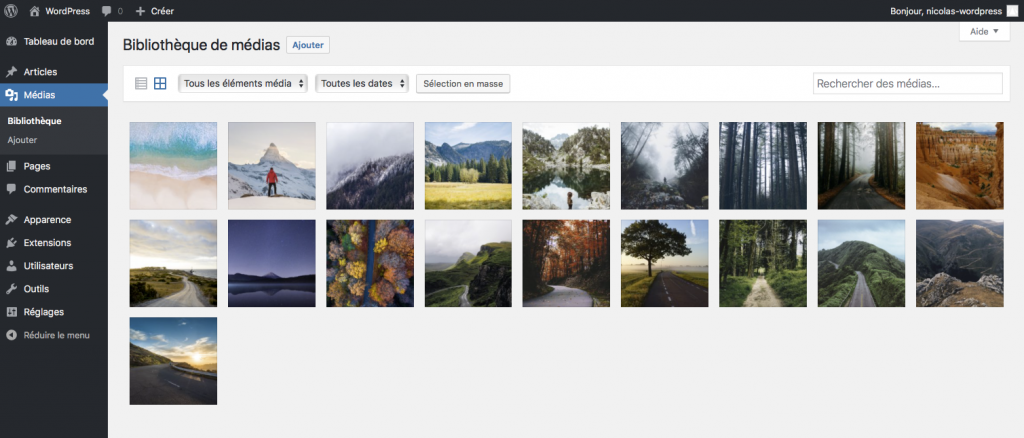
Once selected, you can optimize your files by modifying the size and meta data.
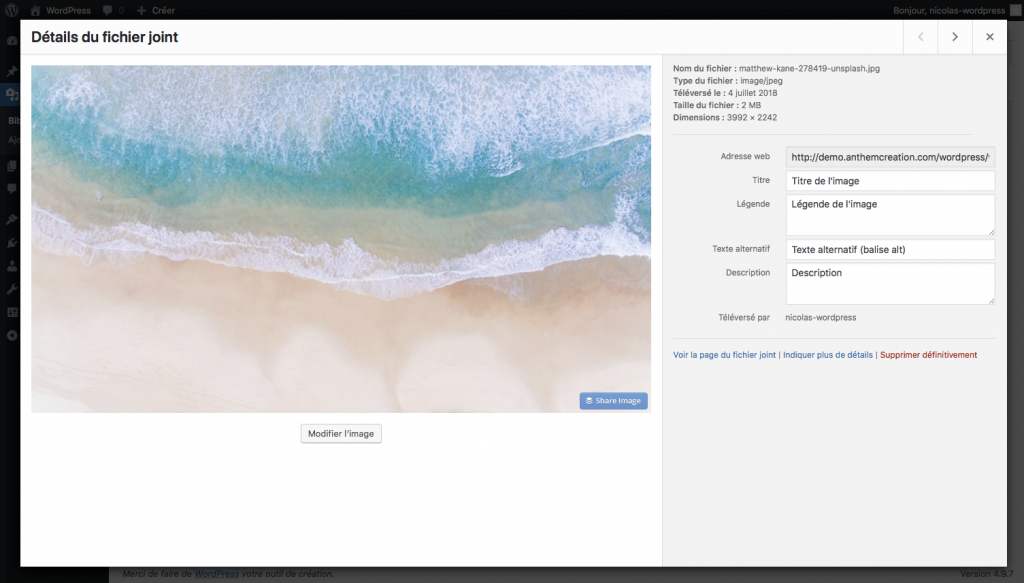
You can quickly crop an image from this page. To do so, click on the button below the image “modify image”. Your original image will not be modified.
- Select the area of the image to be cropped (by clicking directly in the image)
- Validate cropping by clicking on the crop icon (first on the left)
- Click on save
Media library functionality is pretty straightforward, but you can use the following extensions to better organize, categorizeand sort images :
- Enhanced Media Library
- Wp Real Media Library
- WP Media Folder
- Media File Renamer
comments
Just like the posts, the pages the comments are presented in listing form and offer links to manage them. Note that comments can be submitted for validation or pre-approved.

Appearance
The appearance menu brings together settings for your theme as well as menu management.
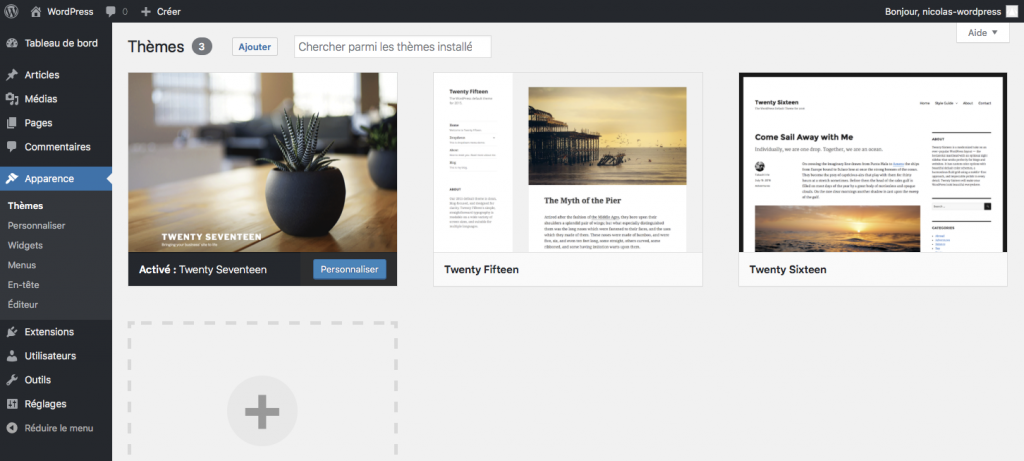
Themes
The “Themes” page lets you install, choose or install a new theme.
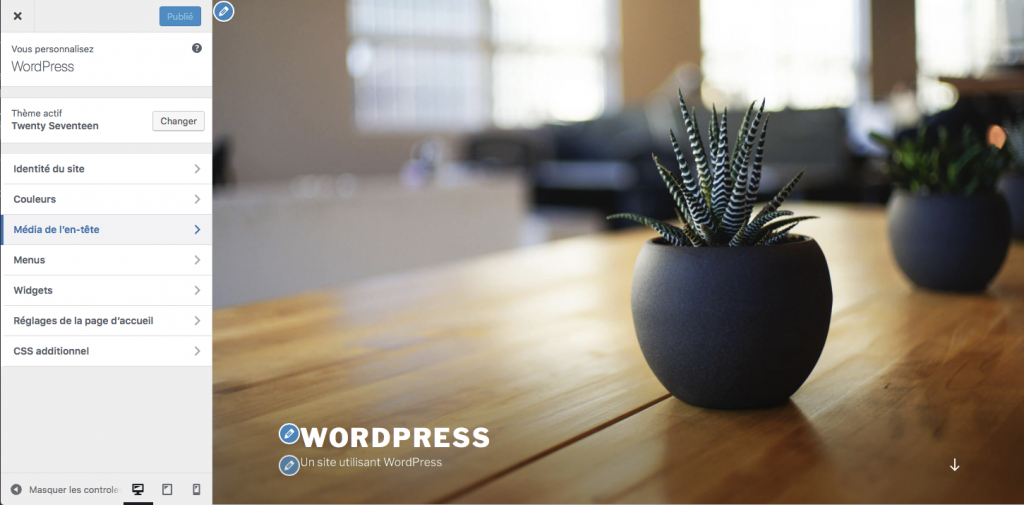
Customize
The “Customize” page will launch WordPress’ Customizer. This is a tool which, depending on your theme, will allow you to customize numerous parameters such as the site identity, the colors or even the typographies. You also have access to features such as menus, widgets and certain page layout settings.
Widgets
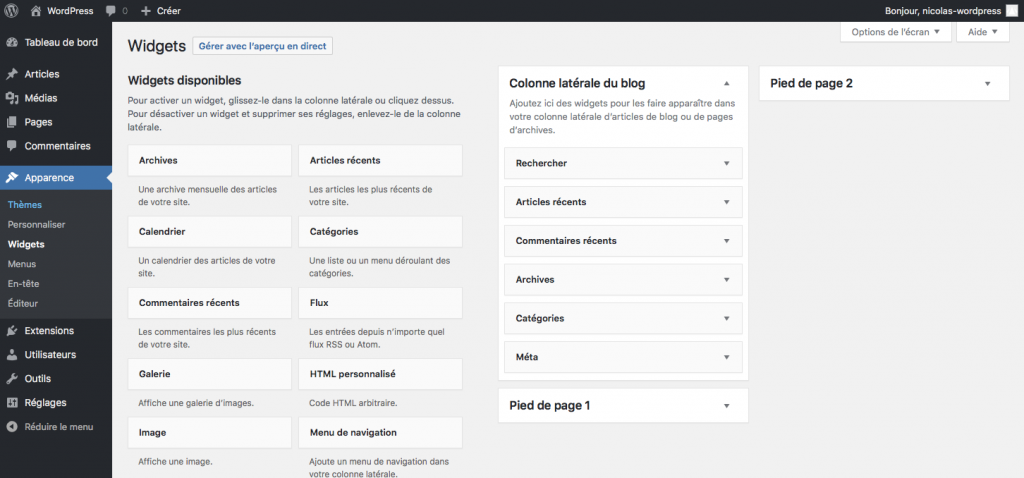
Widgets are modules that can be added to your pages. Some are native to WordPress like image or article archive widgets, others come from extensions you’ve installed or developed.
Menus
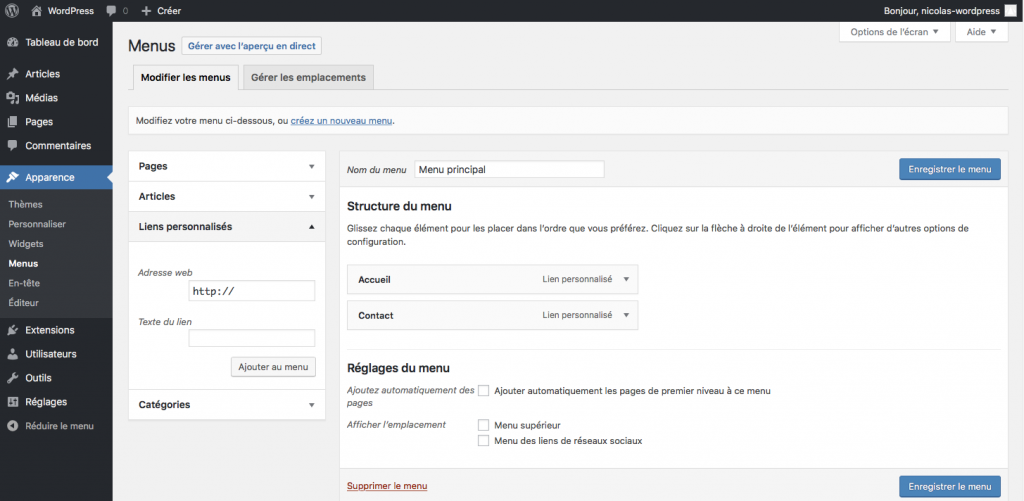
This page allows you to create menus and associate them with locations in your theme. To create a menu simply select available items from the left-hand column and add them to the menu. Several types of elements are available: pages, articles, categories and custom links.
You can then order and hierarchize the menu by simple drag & drop.
Extensions
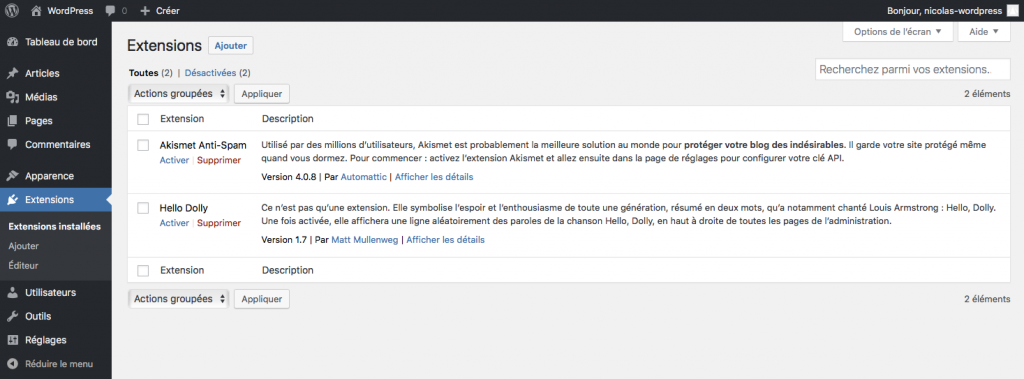
The extension page allows you to manage installed extensions. You can activate, deactivate or delete your extensions.
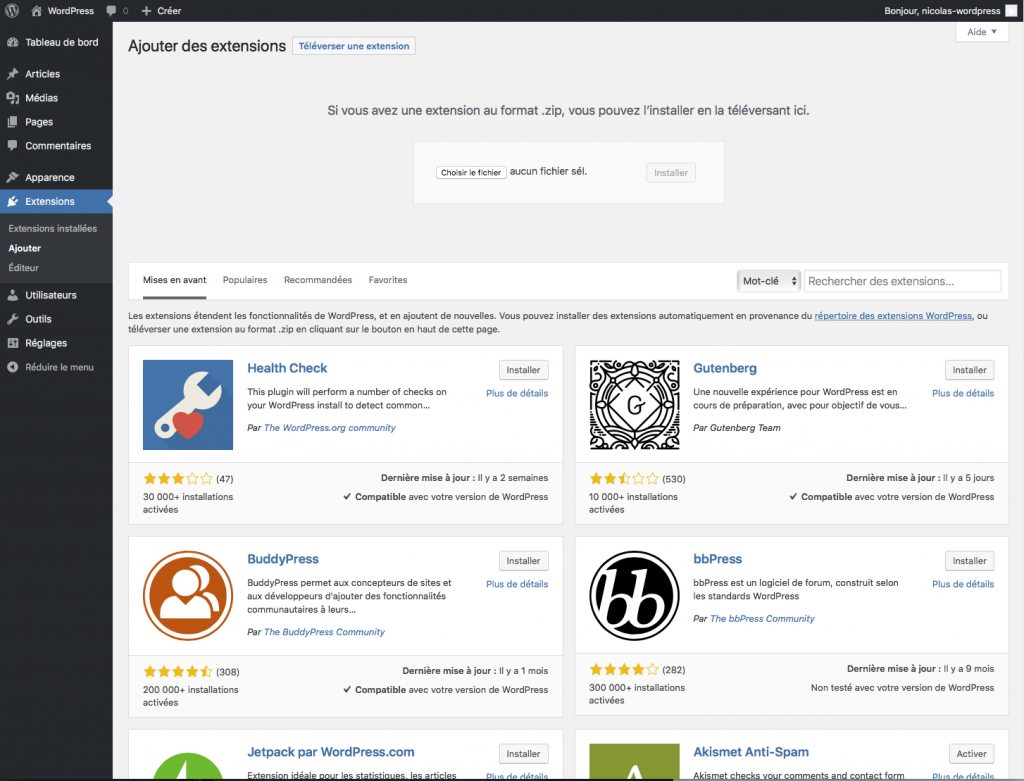
When you want to add an extension, you have two options: Use the search tool on the official WordPress repository or upload a .zip file containing your extension.
Users
WordPress lets you manage users with different access rights depending on the type of use.
- Administrator : The administrator has full rights to manage site content and settings.
- Editor: The editor has full rights to manage content. He can create and modify pages, articles, and comments.
- Author: The author has read-only access to articles. He can create and publish his own articles.
- Contributor : The contributor can create and modify articles, but cannot publish.
- Subscriber : Subscribers can leave comments and edit their profile.
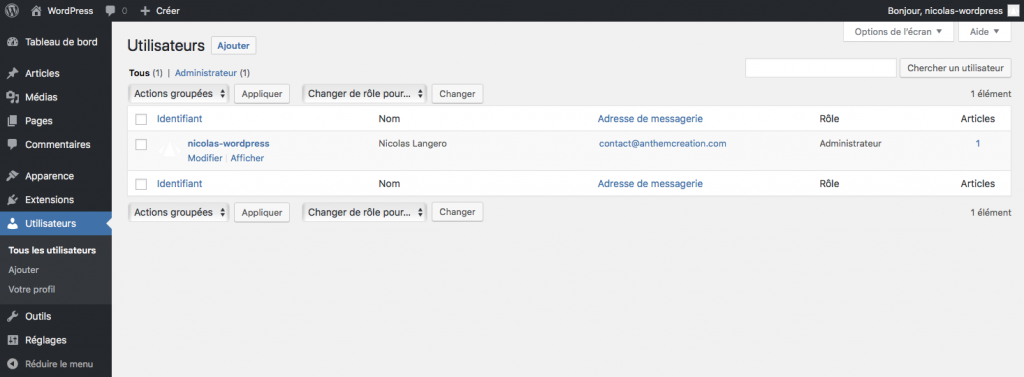
If you’re an administrator you can add a user simply by entering a identifier, a mail and a password. (Please note that the username cannot be modified once the user has been created).
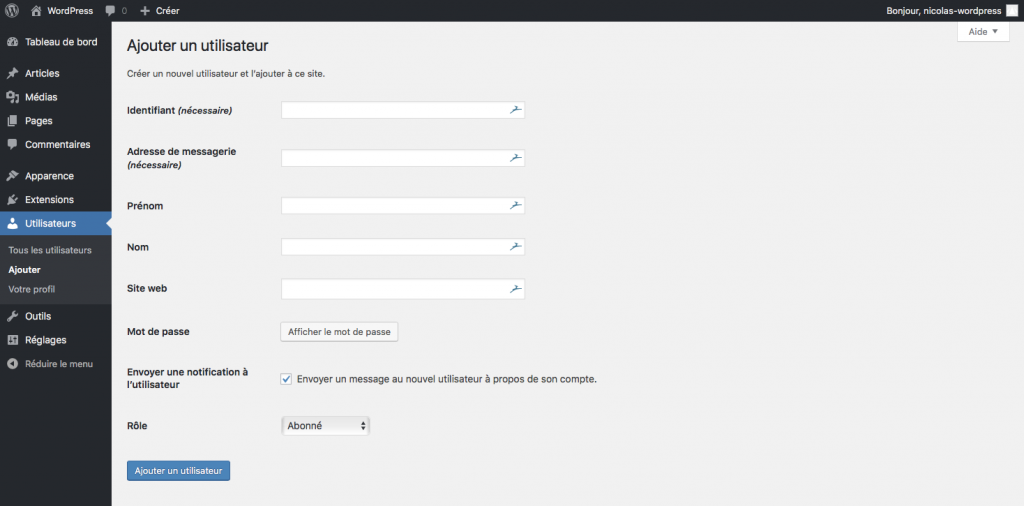
If you need to manage your users and their access rights in more detail, several extensions exist such as User Role Editor or Members
Tools
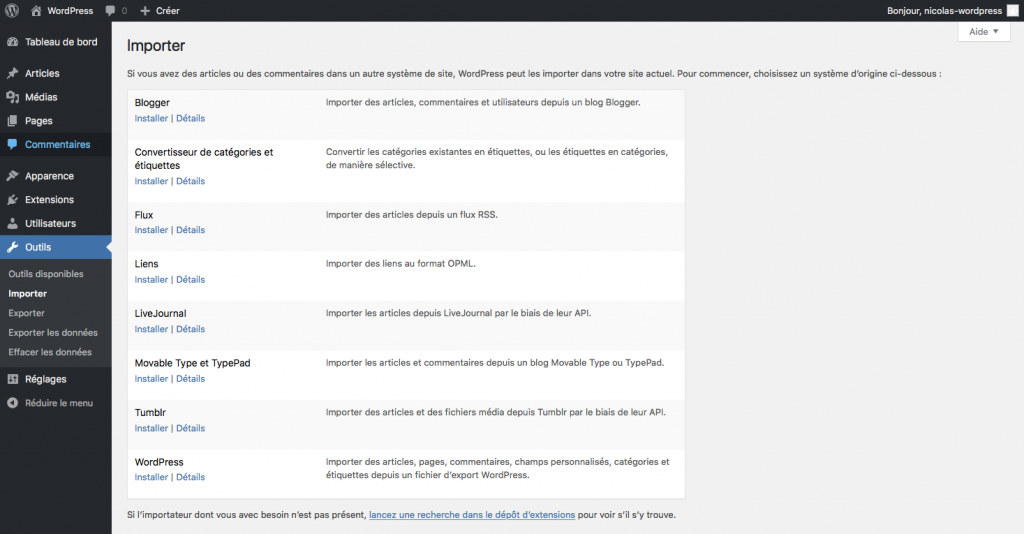
By default, the features grouped together on the “tools” page are WordPress import and conversion utilities, but you’ll find features from other extensions.
Settings
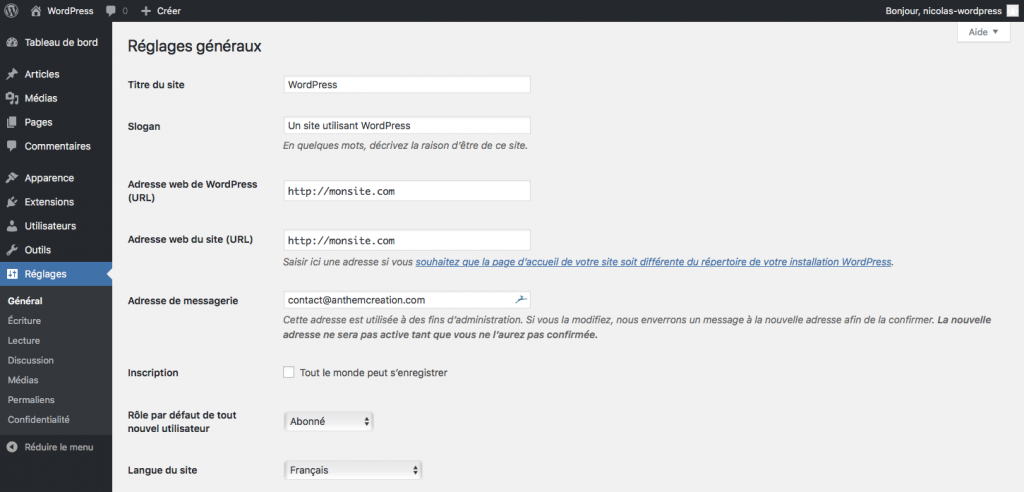
The settings page brings together WordPress settings and options such as site name and tagline, WordPress admin address, and also comment and media pemalien settings. As on the options page, this page also groups third-party extension settings.
